Table of Contents
Setting up custom audiences in Google Analytics 4 can take your analytics setup to the next level. While audiences were previously used for just PPC teams, other verticals can take advantage of the audience customization that GA4 offers.
Custom audiences allow you to categorize users by dimensions, metrics, and events. With many ways to create subsets of users, you can track audiences relevant to your business and goals.
Helpful Articles:
Adding a New Audience
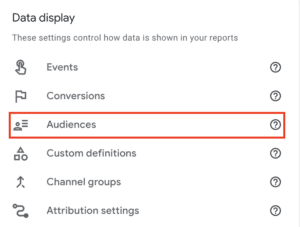
The setup of custom audiences occurs in the Audiences section located in the Admin settings. GA4 allows you to create up to 100 custom audiences in one property. Audiences you create in GA4 can also be used when setting up campaigns in Google Ads, but that’s not all they’re for.
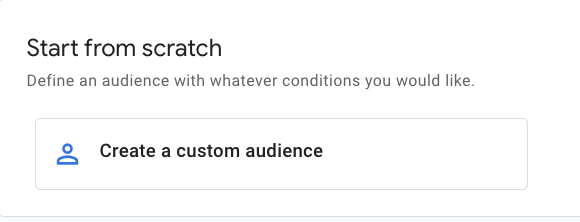
1. New audience → Create a custom audience
If you don’t want to start completely from scratch, you can also create audiences from GA4’s premade templates.
2. Name and briefly describe your audience
If you are unsure what type of audience you want to create, you can return to this step after exploring the filter options.
3. Establish the scope
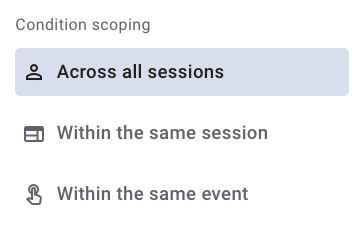
When setting up your custom audience, you can choose from three different scopes:
Across all sessions, Within the same session, and Within the same event.
The Across all sessions scope is the most inclusive scope and will account for user data across multiple sessions.
The Within the same session scope only collects user data for one session. And finally, the narrowest scope, Within the same event, only looks at user data from a single event.
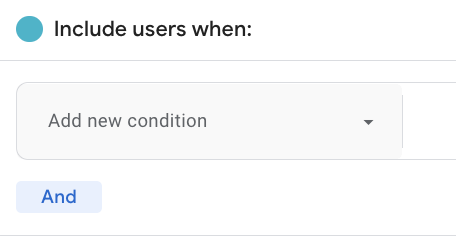
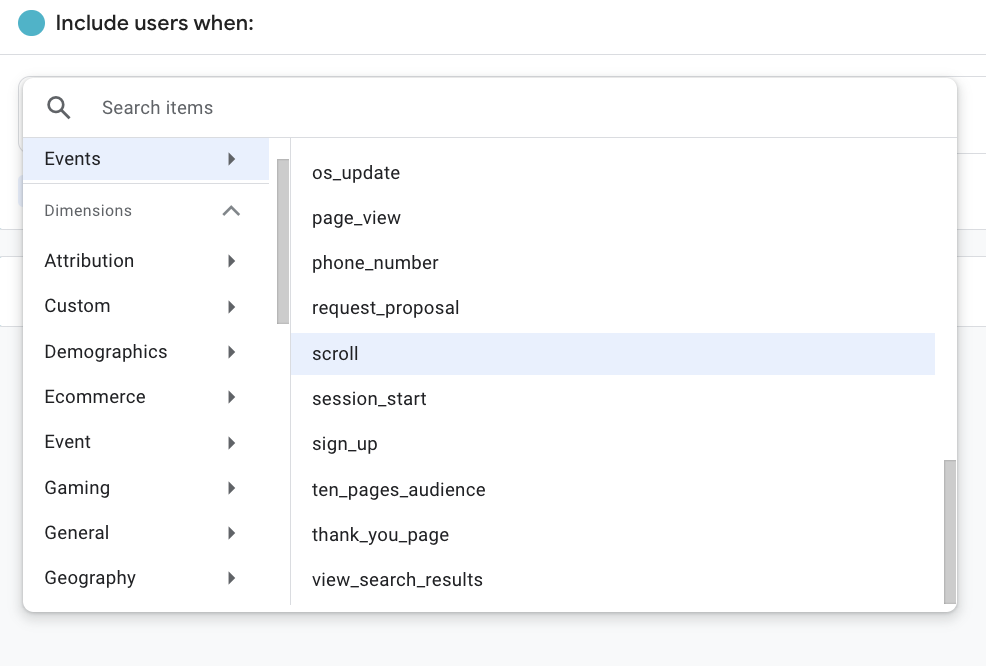
4. Select Add new condition, explore the events/dimensions/metrics you can filter your audience by, and then select the relevant condition.
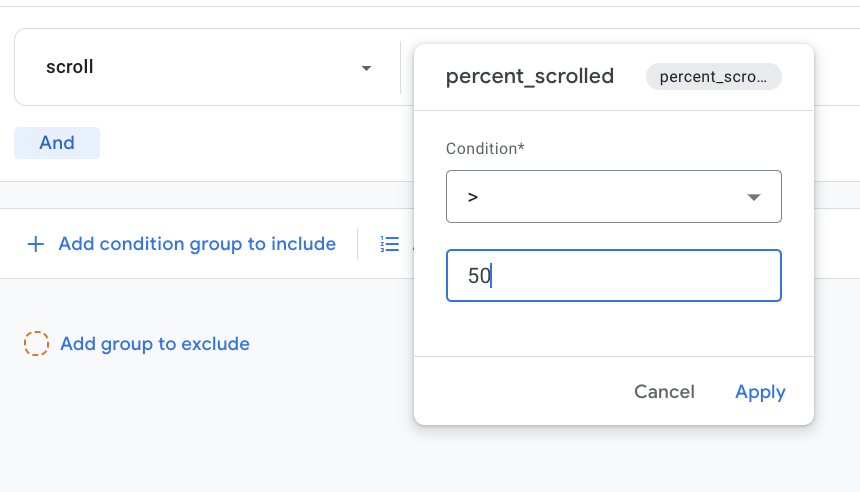
5. Add any parameters or additional conditions
With one condition, your custom audience will likely be too broad. To narrow down your audience even more you can add parameters and additional conditions.
To add additional conditions, you can use the OR/AND functions.
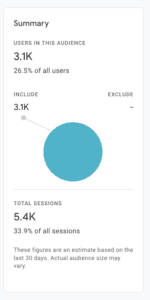
As you add additional parameters and conditions, be sure to monitor the summary box on the right side of the screen to see how much you are narrowing down your audience.
6. Edit additional audience settings (optional)
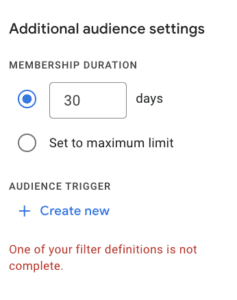
The audience builder defaults the time frame users stay in the audience to 30 days. A user will be removed from the audience if they do not meet the audience criteria again in the span of 30 days. The maximum membership duration allowed is 540 days.
You can also add audience triggers. This feature allows you to trigger an event when users match the criteria of an audience. For example, if your audience criteria is set to spend at least 5 minutes on a page, you can create a trigger that will record an event name of your choice every time a user spends 5 minutes or more on a page.
The event is then available for you to access in all GA4 reports.
7. Save your new audience

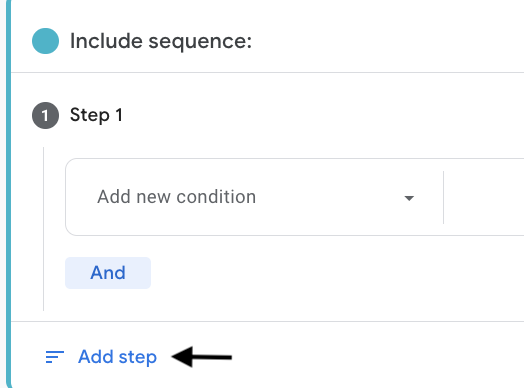
Another possible way to build an audience is through a sequence. This feature can be helpful if you want to analyze audiences that complete a specific order of actions.
Setting up a sequence:
1. Add sequence to include
2. Add a condition/parameter
3. Add step
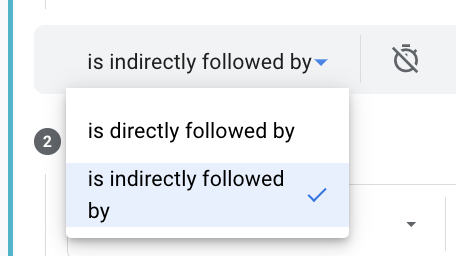
4. Decide if you want the step to directly or indirectly follow the previous step
5. Continue adding the number of steps you want
6. Save new audience
Examples of Custom Google Analytics 4 Audiences
Returning Users
A key audience you likely want to track is returning users to your site. Understanding who comes back to your site can help you distinguish users with high interest in your company and discover which pages users often come back to.
Steps for this audience:
1. New audience → Create a custom audience
2. Name/describe the audience
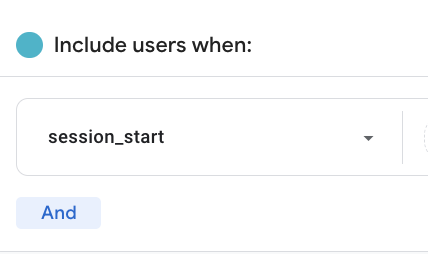
3. Add new condition → session_start
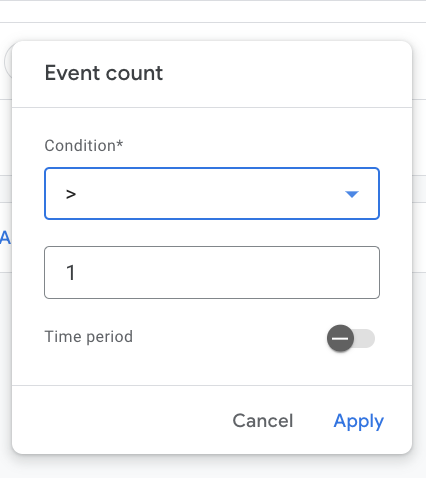
4. Add parameter → Event count
a. Condition = greater than (>)
b. Value = 1
c. Apply
5. Add additional conditions/parameters
If you want to get more detailed, you could add the name of a specific page you want to monitor returning users on.
AND → Add new condition → page_view → page_title → Condition → exactly matches → (enter your page title name).
6. Save your new audience
High Page Views No Conversions
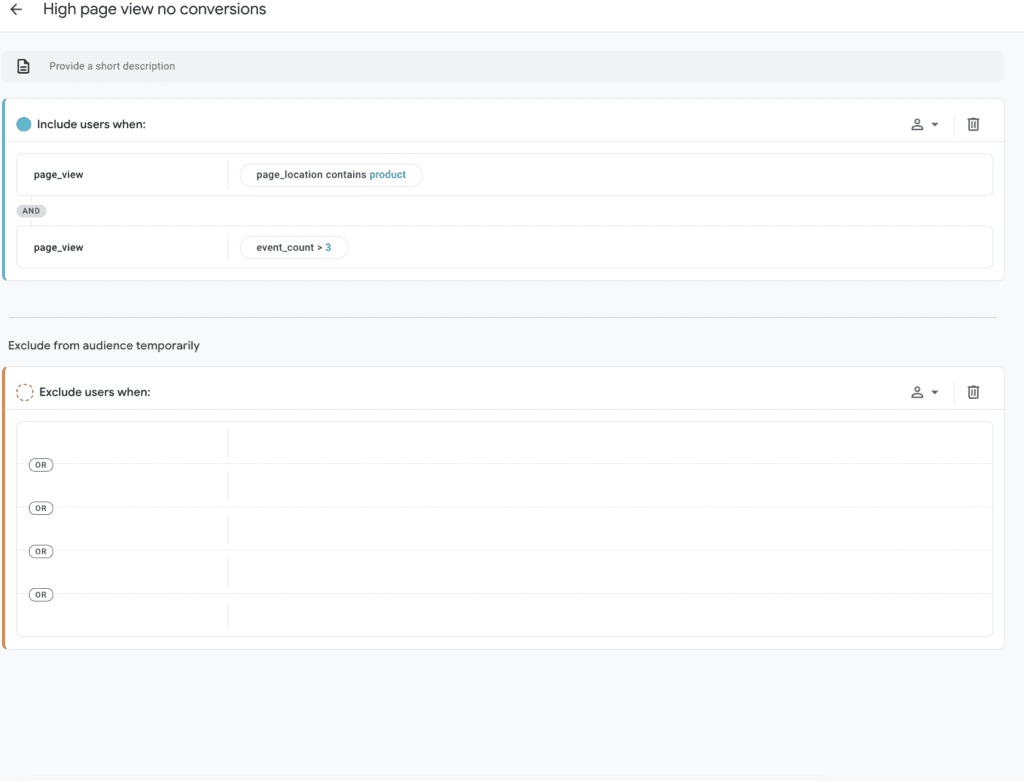
An audience you might want to track is users who view multiple product pages on your website but do not complete a conversion. Analyzing this target audience can help you uncover common places where no conversions happen and allow you to discover new strategies for driving more conversions.
Steps for this example:
1. New audience → Create a custom audience
2. Name/describe the audience
3. Add new condition → page_view
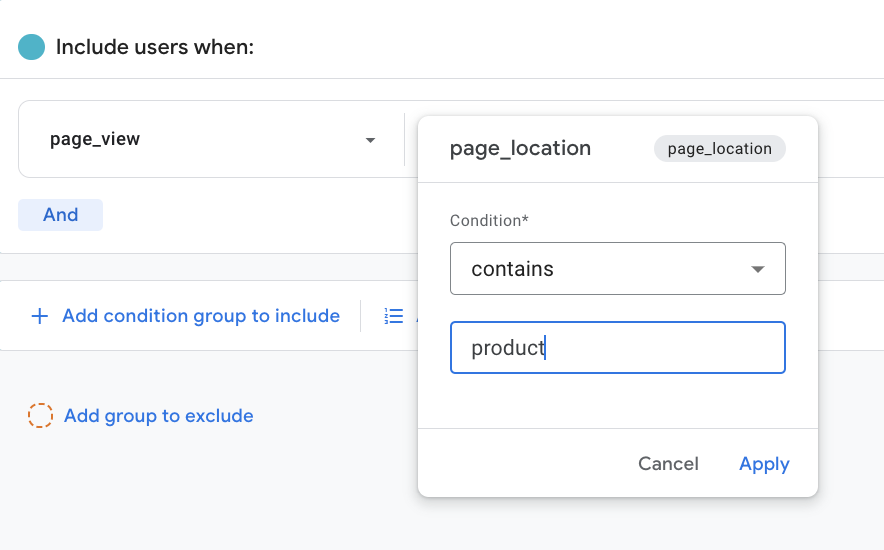
4. Add parameter → page_location → contains → ‘product’
5. Select AND
6. Add new condition → page_view
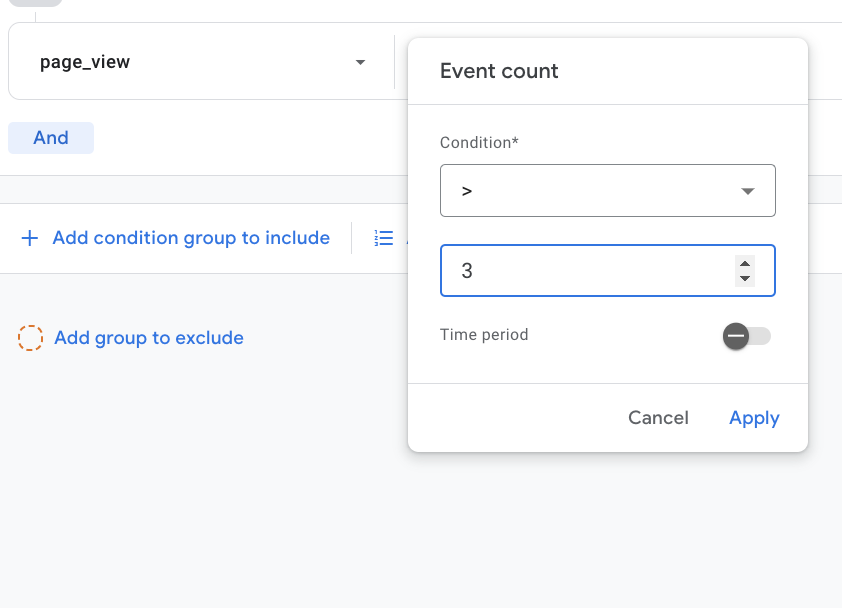
7. Add parameter → Event count
a. Condition = greater than (>)
b. Value = 3
c. Apply
8. Add a group to exclude
a. Once you have your condition set up, you want to make sure you are excluding all user actions that are considered conversions. To do this you first select Add group to exclude.
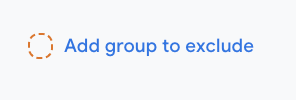
c. Next, select OR
d. Repeat adding new conditions until all your conversion names are added to the exclude box.
9. Save your new audience
Cart Abandonments
If your site is for an ecommerce business, cart abandonments is a key audience you will likely want to track.
1. New audience → Create a custom audience
2. Name/describe the audience
3. Add new condition → add_to_cart
4. Add group to exclude
5. Add new condition → Event name
6. Add parameter → Condition → exactly matches → ‘purchase’
7. Save new audience
Audience Explorations
Exploration reports are another great way to analyze the performance of audiences. Using an exploration such as Path exploration allows you to learn more about the user journey of your target audiences.
Steps for adding audiences to your explorations:
1. Explorations → Choose an exploration type
I chose Path exploration.
2. Segments → ‘+’ button
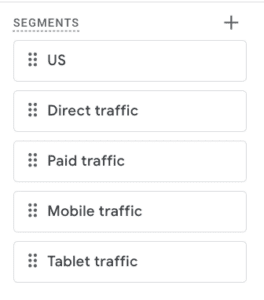
Segments are only available to use in explorations. If you want your audience to also be available to use in the standard report types, you can select Build an audience.

3. Create a custom segment → User segment
4. Complete the steps for adding a new audience (as outlined above)
5. Save and apply
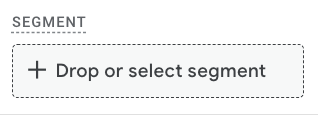
6. Add your segment in the Segment column to filter your exploration by your custom audience
Audiences Report
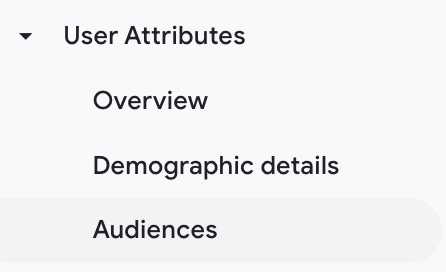
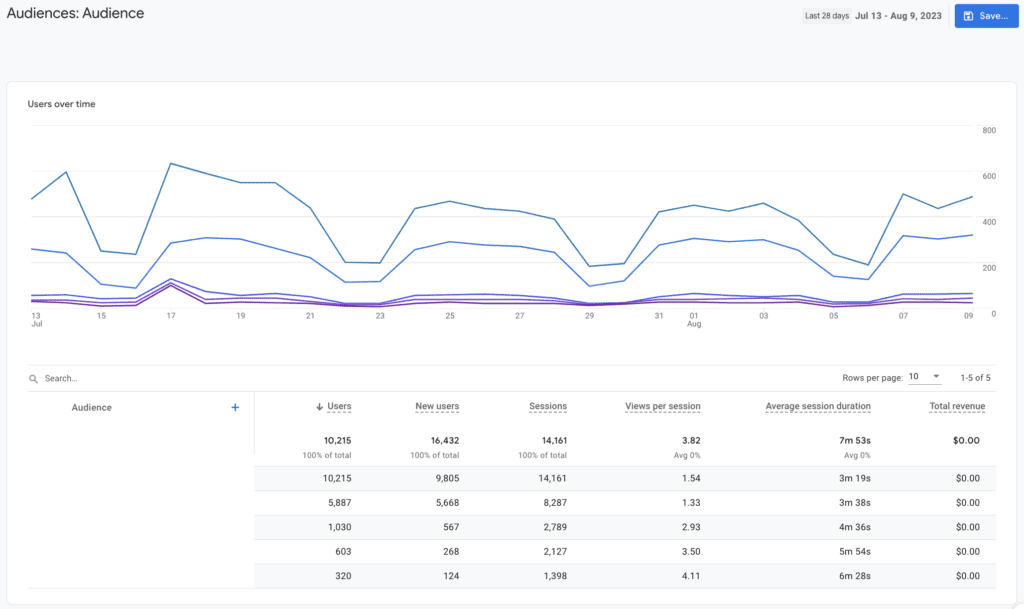
At the beginning of August 2023, GA4 unveiled the Audiences report which can be found under User Attributes in the Reports section.
This report is the hub for all your custom audiences. The Audiences report allows you to easily compare and evaluate the performance of your different audiences.
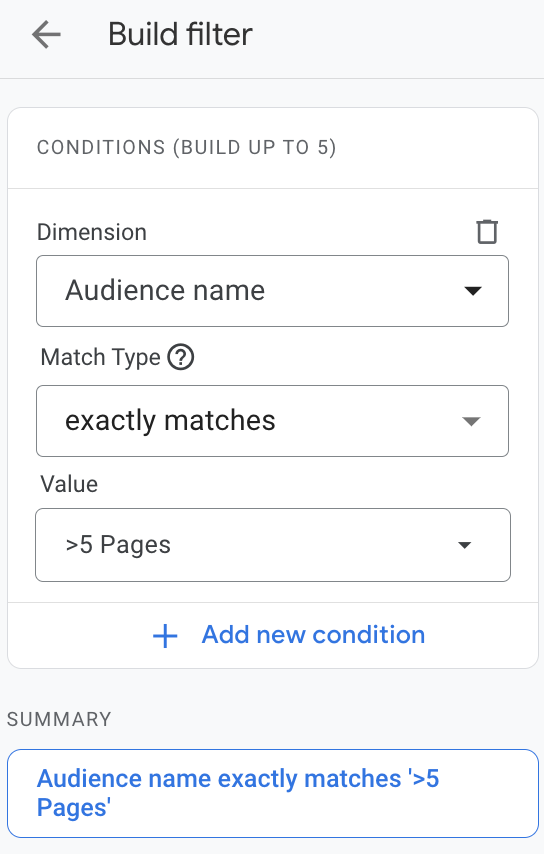
You can also filter other standard report types by custom audience. For example, I could filter a Landing page report to just show landing pages of my custom audience.
To do this, first open the Customize report tool (the pencil icon in the top right corner). Then, click Add filter → Dimension → Audience Name → exactly matches → (choose the name of a custom audience from the drop-down menu) → Apply.
Conclusion
Using Google Analytics 4 audiences is an easy way to elevate your reporting. Based on audience analysis in GA4, you can develop audience-focused marketing strategies, improve the customer experience on your site, and personalize your content for your target audiences.
Search News Straight To Your Inbox
*Required
Join thousands of marketers to get the best search news in under 5 minutes. Get resources, tips and more with The Splash newsletter:
